
Online Stores & Product Teams
Test a neutral product background or a seasonal setting. Keep the item's shape, label and key features in your instructions, then compare the edit with the original product.
Start with your own photo and tell Nano Banana what to change. Adjust a color, rethink the setting or explore a new look using clear, everyday instructions. Keep the parts you love and work on the details that need another direction.
AI Photo Editor
Drag or click to upload up JPG, PNG, or WEBP images
An AI photo editor works with an image you already have. Upload a reference, choose an image model and describe the change rather than building the result from a blank canvas. Nano Banana brings that process into the same workspace you use to generate images, with model selection, output settings and your creations in one place. Be specific about what should change and what should stay, then compare the result with the original.
Make everyday photo edits feel more intuitive with the Nano Banana AI photo editor. Generative AI turns your prompts and reference images into creative changes, from photo retouching and color adjustments to object removal, replacement and new backgrounds. Choose an image model, explore different looks and fine-tune your instructions in one online workspace.
Remove distracting objects, replace individual details and recolor elements of your photo with a clear text prompt. The Nano Banana AI photo editor helps you turn a familiar image into something new while guiding the model toward the details you want to retain. For dedicated tasks, use Nano Banana's Image Enhancer to upscale an image or Background Remover to create a cutout. Move between these online tools as your project develops, all from your browser.
Try Free AI Photo Editor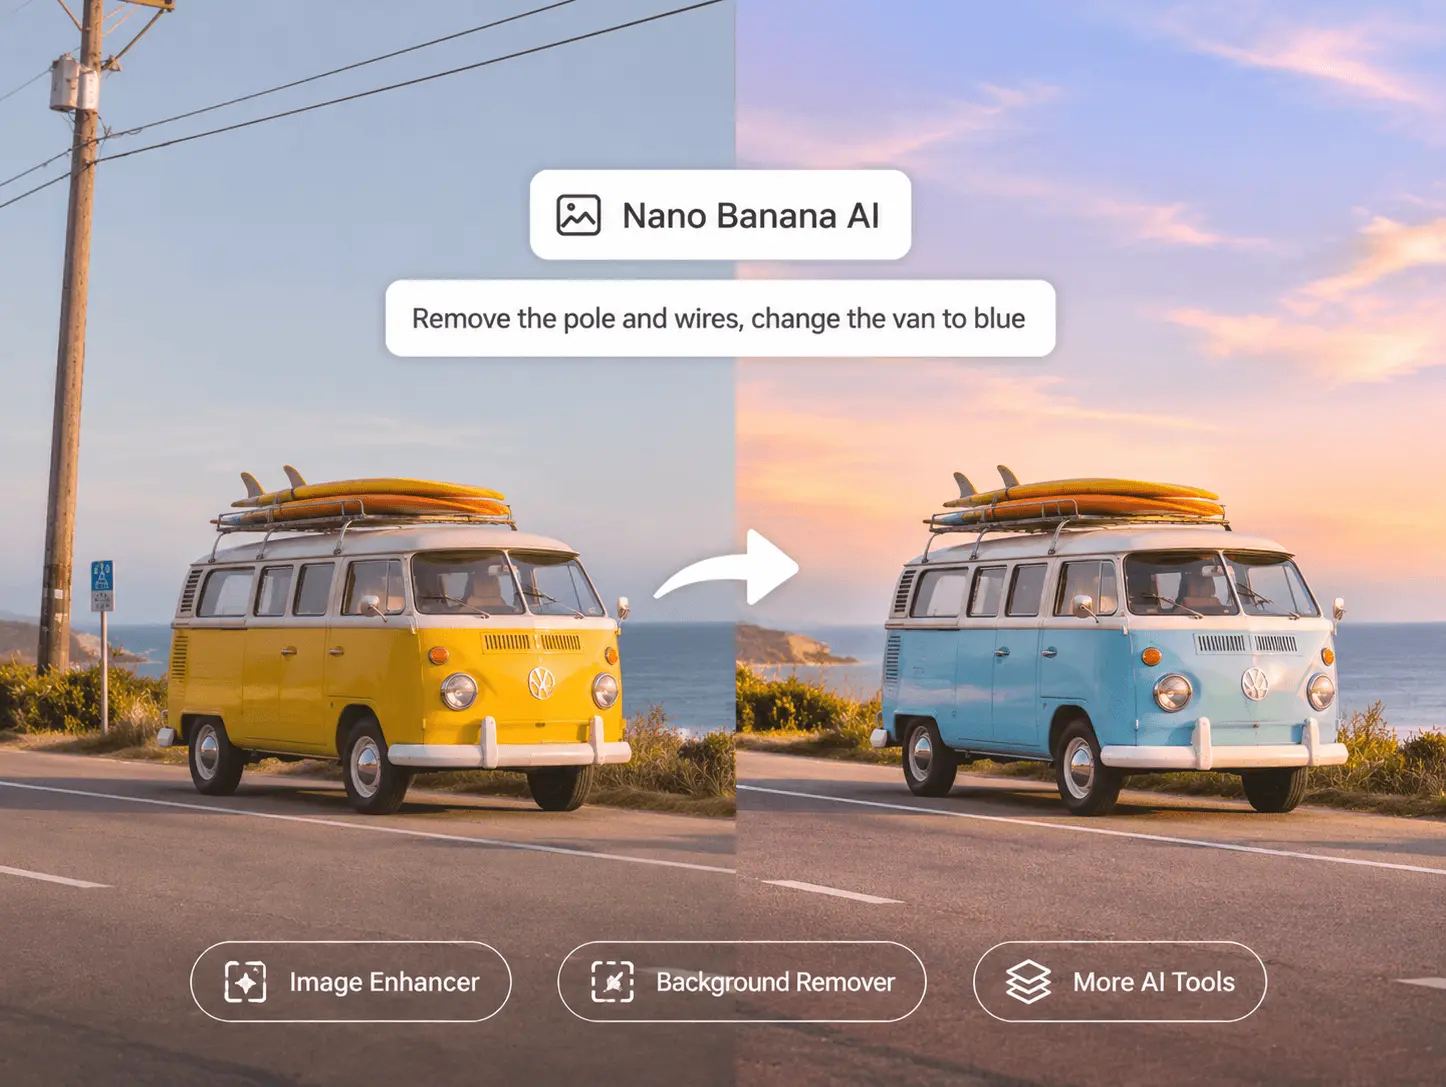
Take your photos in a new direction with the Nano Banana AI photo editor. Image-to-image editing lets you reimagine composition, lighting and mood using an existing photo as your starting point. Place a portrait in a new setting, give a product shot a studio-style finish or explore a different visual treatment. Adjust the prompt, compare versions and develop the look that fits your idea, whether you are exploring creative concepts or refining an image for a finished project.
Try Free AI Photo Editor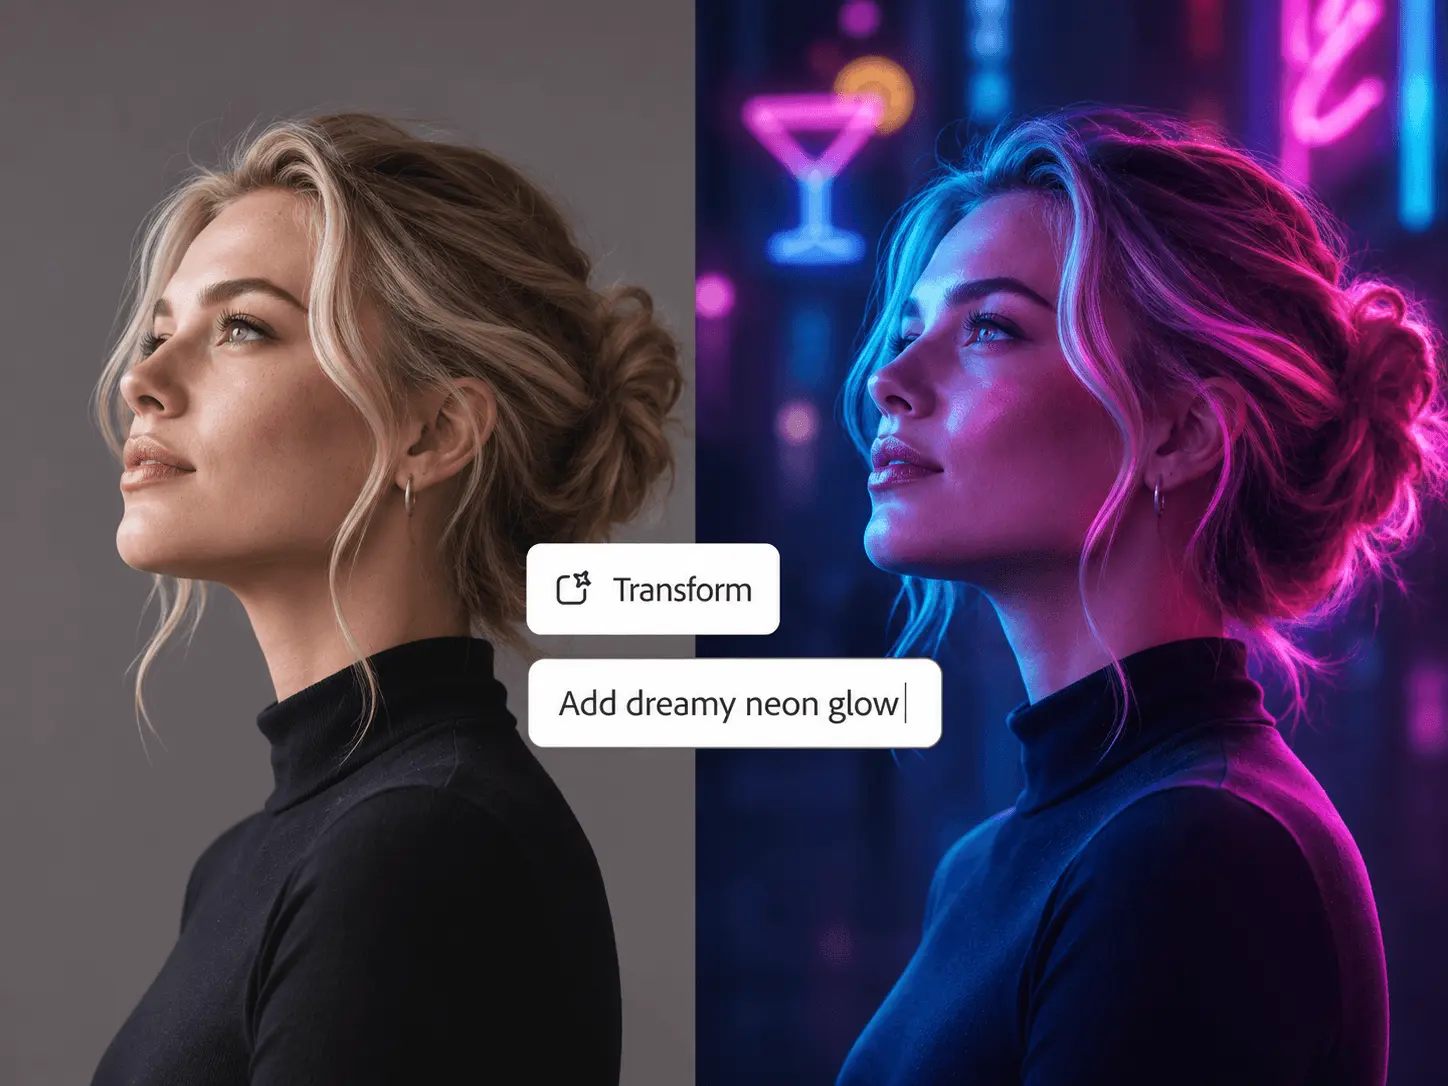
From social posts and product shots to presentations and personal photo projects, the Nano Banana AI photo editor gives different ideas room to develop. Guide changes with plain-language instructions and use image references, where supported, to communicate a preferred subject, palette or style. Explore variations for a campaign, develop a recognizable look for your content or revisit a favorite travel photo. Keep the creative direction in your hands as you review and refine each result.
Try Free AI Photo Editor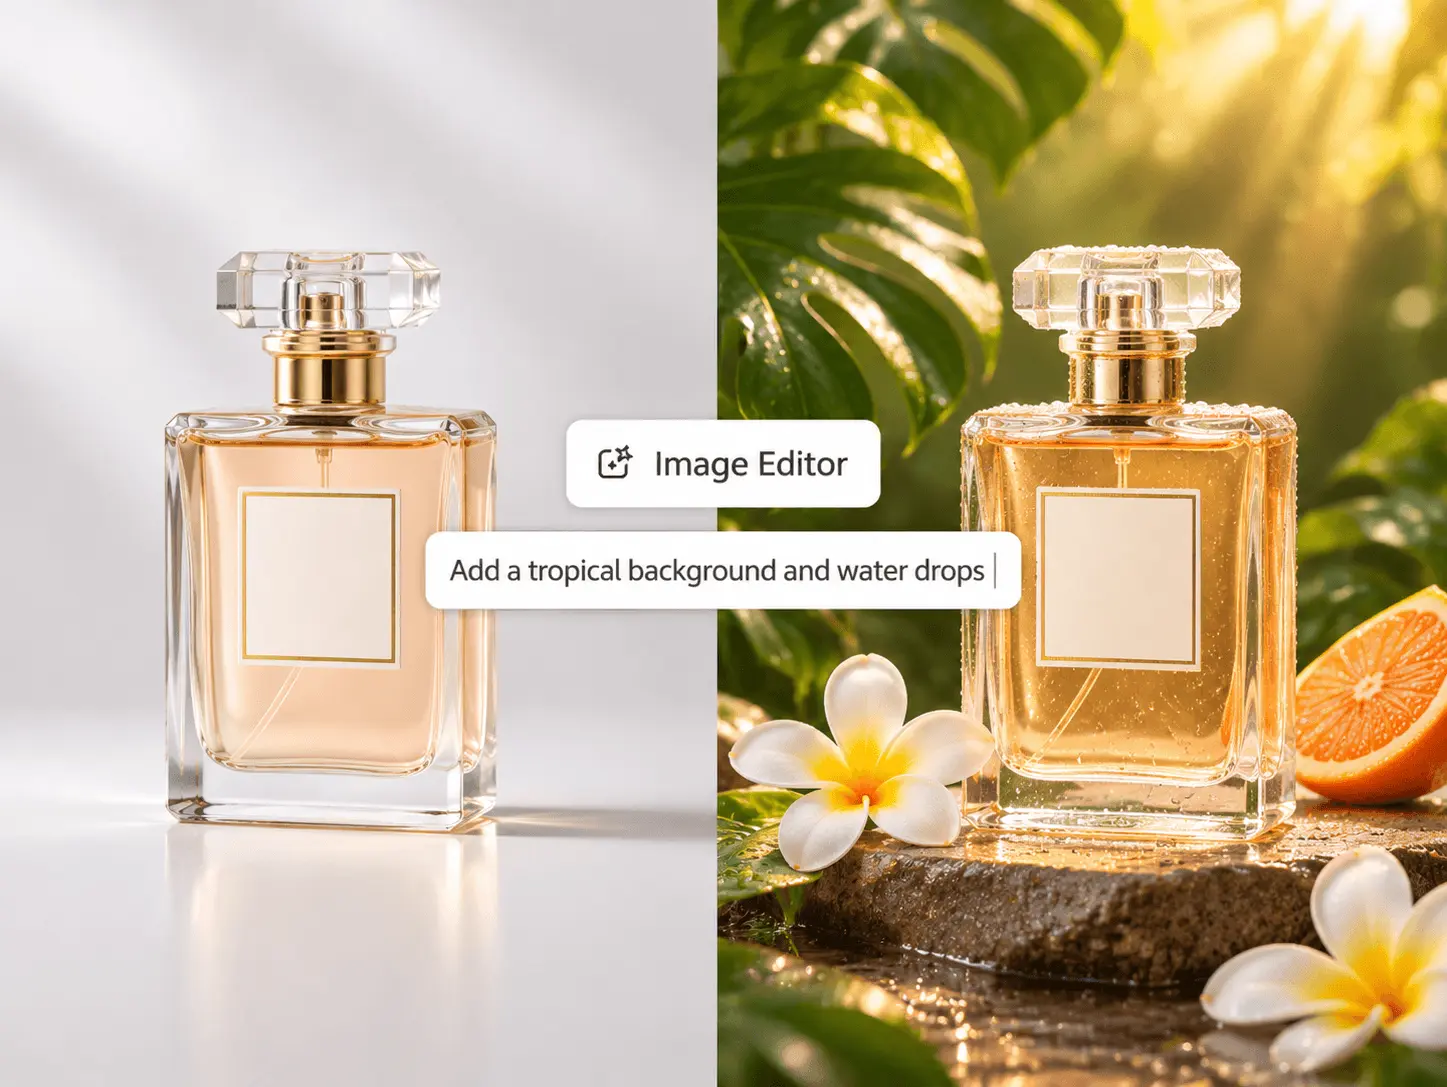
Give portraits, product images and everyday photos a more polished finish with thoughtful adjustments to light, color and texture. Use the AI photo editor to explore softer shadows, warmer tones or a cleaner overall appearance, then select an output resolution available for your model. When a low-resolution photo needs dedicated upscaling, continue in Nano Banana's AI Image Enhancer. Review fine details at full size and choose the result that works for your website, presentation or social feed.
Try Free AI Photo Editor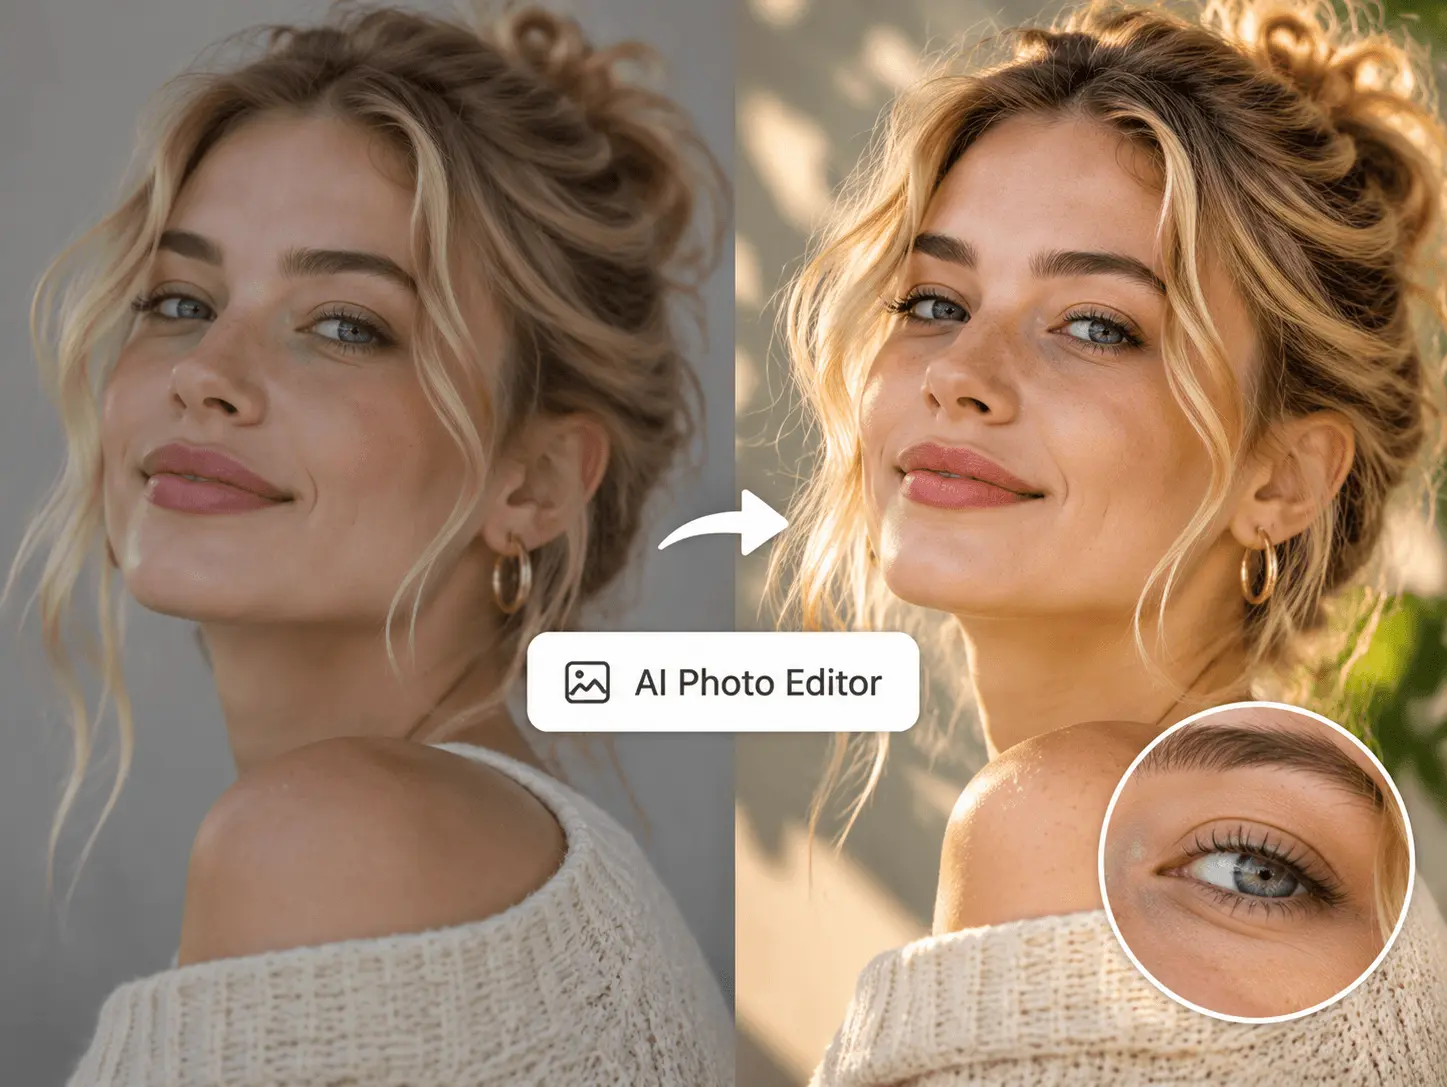
Turn an existing image into the starting point for a poster, announcement or promotional visual. With the Nano Banana AI photo editor, you can request a new headline, update wording or explore a color treatment that suits your message. Specify the exact text and placement, and describe the surrounding design elements you want to retain. Try another variation when your idea changes, then check the wording and layout before downloading the version you want to share.
Try Free AI Photo Editor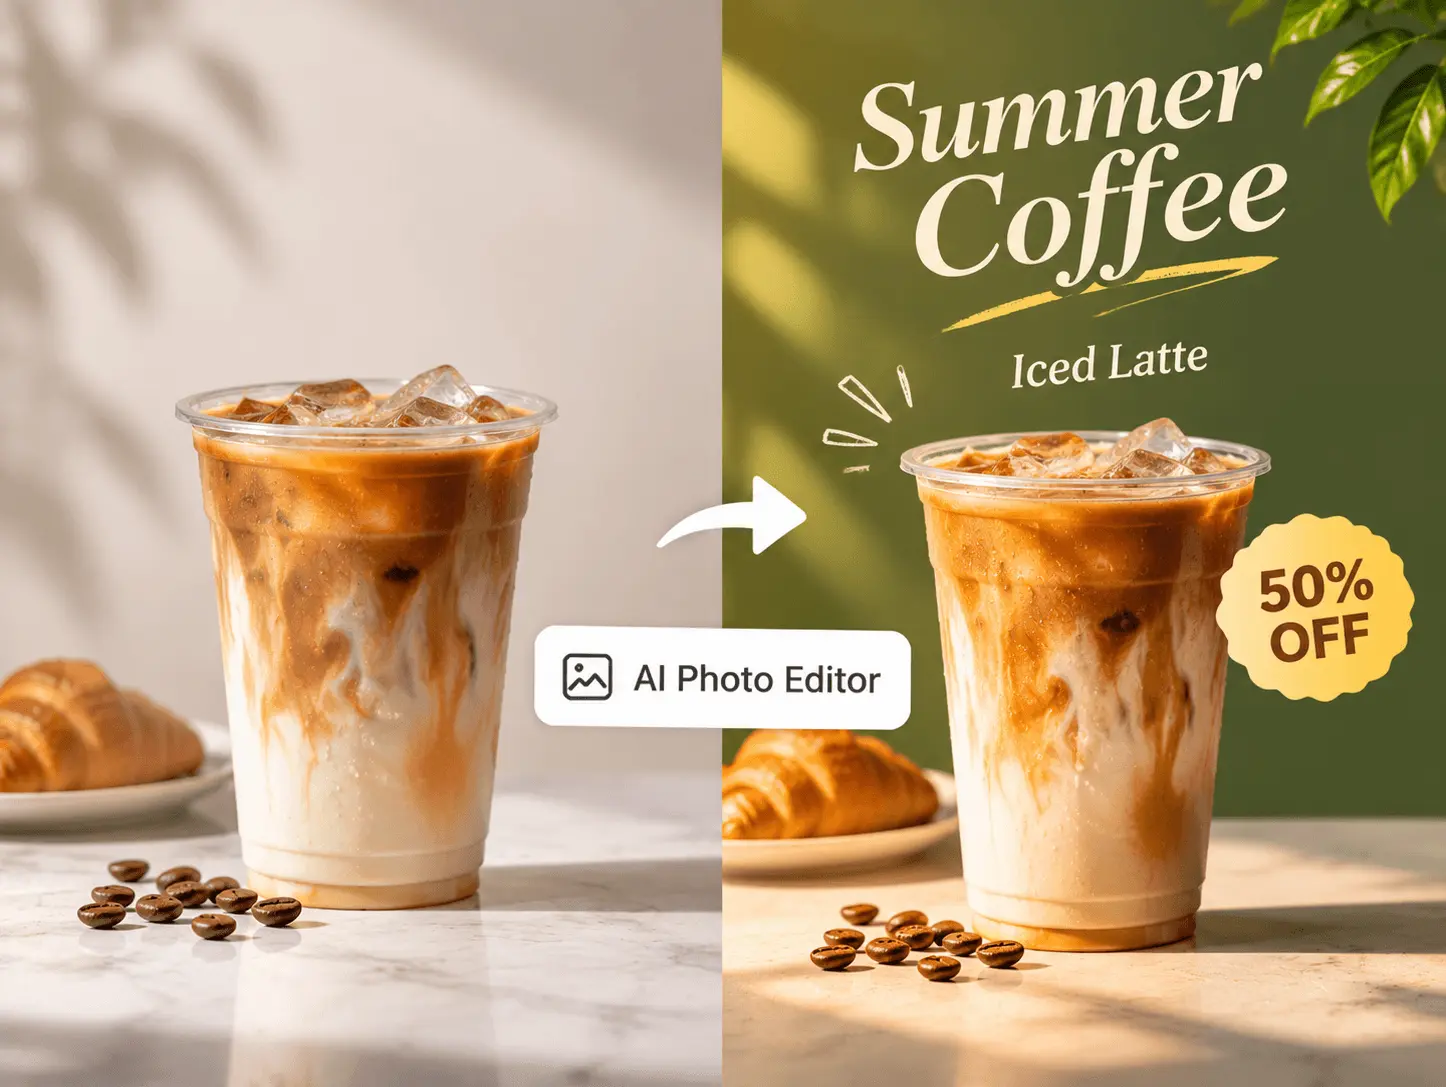
Start in image-editing mode, upload your photo and choose a supported image model in the workspace.
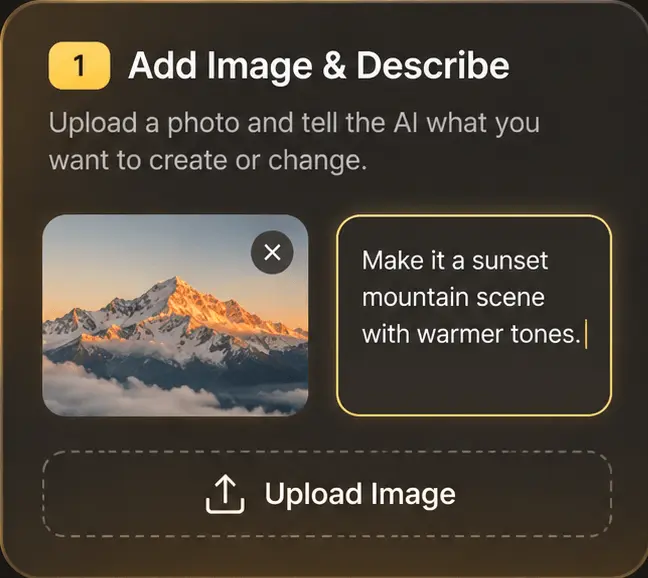
Open the photo editor and add your image from your device or available assets. Use a clear source and check the uploader's format, size and reference-count limits.
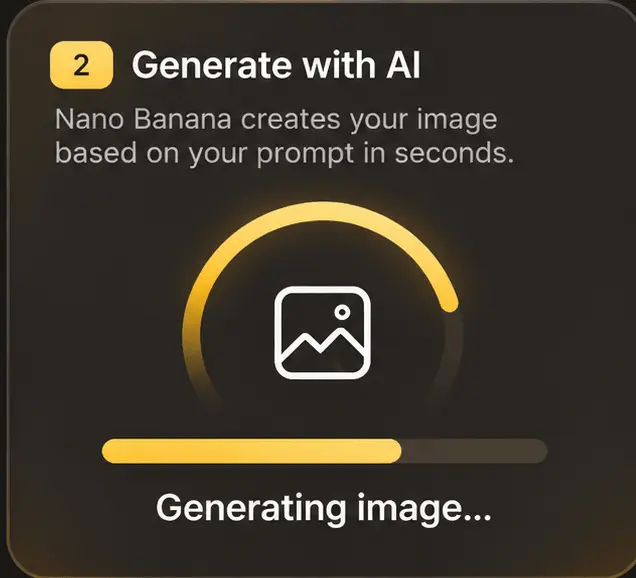
Identify the element to edit, the result you want and the details to preserve. Choose the available image settings and review the displayed credit cost before selecting Create.
Open the result in your creations and compare it with the source. If another adjustment is needed, edit the instructions and try a new version. Download the image you decide to keep.
Use these original prompt ideas as starting points, then adapt them to the photo you upload.
| Editing goal | A prompt to try | What to check |
|---|---|---|
| Change one color | Change the blue shirt to terracotta red. Keep the face, pose and setting unchanged. | Fabric texture, garment edges and the details you asked to preserve. |
| Remove a distraction | Remove the small bag beside the chair. Reconstruct the floor behind it and keep the chair in place. | The reconstructed area, shadows and nearby objects. |
| Replace a background | Place the product against a neutral studio background with soft shadows. Keep its shape and label unchanged. | Product proportions, label wording, edges and contact shadows. |
| Adjust the atmosphere | Use gentle morning light and a slightly warmer color balance. Retain the scene's composition. | Skin tones, highlights and whether the lighting feels consistent. |
| Update a headline | Replace the headline with Fresh Ideas. Keep the remaining text and the existing visual hierarchy. | Exact wording, alignment, spacing and any small text. |
Start with an image from your own collection and shape a version that fits the work in front of you.
Test a neutral product background or a seasonal setting. Keep the item's shape, label and key features in your instructions, then compare the edit with the original product.
Develop alternate looks for a post or recurring series. Save a version you like, then use it as the starting reference for the next focused adjustment.
Explore new visual treatments for an existing campaign image. Use a clear brief to compare color, setting and styling before choosing a direction.
Use reference-led edits to discuss a concept with collaborators. Keep notes on the prompt and settings so you can explain what changed between versions.
Prepare an illustration or supporting image for a lesson or slide. Review the generated details and any text against the message you want to communicate.
Try a different color, setting or visual treatment for a personal photo. Keep the original file and download a separate edited version for your collection.
Practical details about editing your own images in the Nano Banana workspace.
It is a way to transform an existing image using an image model and written instructions. Instead of describing a completely new scene, you provide the photo and explain which parts to change or preserve. Nano Banana's image workspace supports this reference-based editing process.
Yes. You can upload your own photo as the starting image. Clear subjects and visible details give you a better basis for describing an edit. Keep the original file so you can compare the generated version with your source.
You can start with an ordinary-language instruction. Try one identifiable change first, such as adjusting a shirt color, and add the details that should remain the same. You do not need to build a layer-based composition to make your first request.
The image uploader accepts JPG/JPEG, PNG and WEBP. The workspace shows the applicable upload and reference limits. Use a clear, full-size source where possible and choose a model that supports the editing task you have in mind.
Yes. The photo editor starts in image-editing mode, and you can switch to another available image model in the workspace. Input limits, settings and credit costs can differ between models.
Name those details explicitly in your prompt and limit the edit to a specific area or idea. Compare faces, product labels, proportions and small features in the result with the original. Generative edits can still alter details, so a preservation instruction is guidance rather than a guarantee.
You can request those changes through an image-editing model. Identify the object or background clearly and explain what should take its place. For an object removal, also describe the surrounding surface or setting so the model has context for the replacement area.
Sign in to create an edited image. Generations use credits, and any available introductory credits depend on your account and the current offer. Review the displayed cost and your balance before creating; the pricing page lists current plans and credit options.
You can ask the editing model to refine the appearance or try the dedicated AI Image Enhancer for enlargement and enhancement options. Available output sizes depend on the chosen model and settings. Compare fine details with the source instead of judging only the preview.
Find the generated image in your creations, open it to review the details and use the download action to save it. To try another adjustment, use a suitable image-editing workflow with the version you want to work from and a focused new instruction.
Bring a photo, choose a model and describe one change. Explore the result in Nano Banana's image workspace, then refine the version that works for you.
Create For Free